Español
 عربى
عربى русский
Content
CAT3 Keystone Jacks are common components in network cabling and voice communication systems, particularly in legacy telephone systems or low-speed data networks. While modern networks increasingly utilize Category 5e, Category 6, or higher-spec cabling, understanding how to properly connect a CAT3 Keystone Jack remains crucial in certain voice applications or legacy systems. Proper installation not only ensures reliable signal transmission but also avoids unnecessary troubleshooting in the future.
CAT3 Keystone Jack: Understanding its purpose and construction
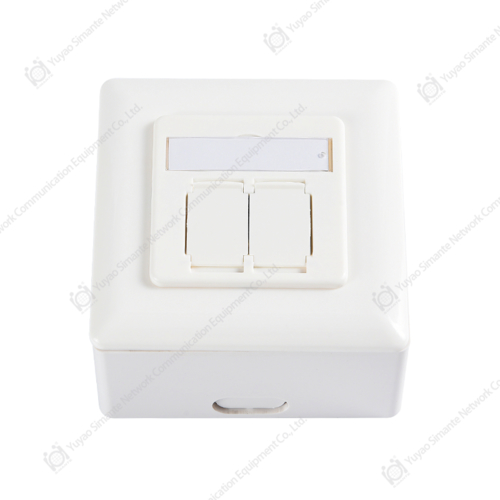
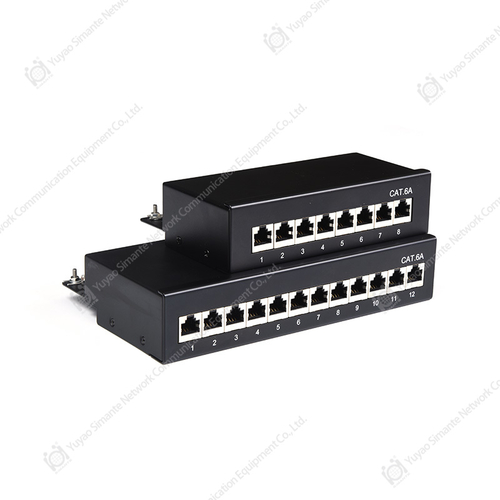
A CAT3 Keystone Jack is a modular jack typically installed in a patch panel, wallplate, or surface-mount box. Its primary function is to serve as a connection point between Category 3 twisted-pair cabling (usually two or four pairs) and patch cords or equipment cables.
Construction: A keystone jack has an RJ-11 (for telephone lines) or RJ-45 (for Ethernet) connector on one end and insulation displacement connector (IDC) terminals on the other end for connecting the twisted-pair conductors.
Purpose: Category 3 cables and jacks were originally designed to support data transmission up to 10 Mbps, but today they are most commonly used for voice (telephony) applications.
Steps for Connecting a CAT3 Keystone Jack
Properly connecting a CAT3 Keystone Jack is a precise process that often requires the use of a punch-down tool.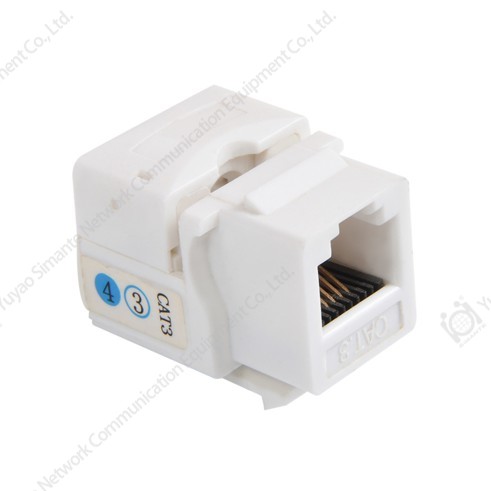
1. Preparation
Before you begin connecting, ensure you have the following tools and materials:
- CAT3 Keystone Jack
- Category 3 twisted-pair cable (or Category 5e/Cat6 cable for voice)
- Punch-down tool (typically 110-type or Krone-type)
- Wire strippers
- Cable ties or Velcro (for cable management)
2. Stripping and Managing Wires
Using wire strippers, carefully strip approximately 1-1.5 inches of the outer cable jacket, taking care not to damage the inner insulation.
Untwist the twisted pairs, straightening and separating each conductor.
3. Determine the wiring standard
The back of a Cat3 keystone jack typically has color coding printed on it to guide you on how to connect the wires. For voice and data connections, two wiring standards are commonly used: T568A and T568B.
For voice applications (most common with Cat3): While you can follow either the T568A or T568B data standards, in simple telephone systems, it's common to connect only the center two pairs (blue/white-blue and orange/white-orange), or only the pairs you need.
Key Tip: Regardless of which standard you choose (A or B), be sure to maintain consistency throughout your wiring project.
4. Punch-Down Connections
Place the wires in the corresponding IDC notches according to the color coding on the jack (T568A or T568B).
Use a crimping tool to press down vertically on each wire. The crimping tool embeds the wire into the connector while simultaneously cutting off any excess wire.
Ensure each wire is securely pierced through the insulation and connected.
5. Testing and Tidiness
After completing the connection, use a network tester (or a simple telephone line tester) to check the connection for continuity, ensuring that all wire pairs are properly connected and free of shorts or opens.
Bend the cables gently and use cable ties or Velcro to organize and secure them to reduce strain on the keystone jack connection points.
Snap the CAT3 keystone jack into the wall plate or patch panel.
While CAT3 keystone jacks primarily serve traditional voice communications or low-speed applications, proper installation is fundamental to the reliability of the entire cabling system. By following standard wiring procedures and using the right tools, you can ensure your CAT3 cabling system is stable and easy to manage. Remember, consistent wiring standards and thorough testing are key to a successful installation.